
To prevent interlocking sports floor tiles from buckling, properly prepare the subfloor, follow manufacturer installation requirements, control temperature and humidity levels, leave adequate expansion space, and conduct regular checks of floor connections.
Buckling refers to the upward warping, lifting, or bulging of interlocking court tiles, most commonly along joint seams or near fixed structures. It is far more than a cosmetic flaw: it creates immediate tripping hazards for athletes, disrupts consistent shock absorption and ball bounce, and increases long-term maintenance costs through premature tile replacement and facility downtime. For gyms, arenas, and multi-purpose sports facilities, even minor buckling can compromise playing safety and reduce the functional lifespan of a modular flooring system by 30% or more if left unaddressed.
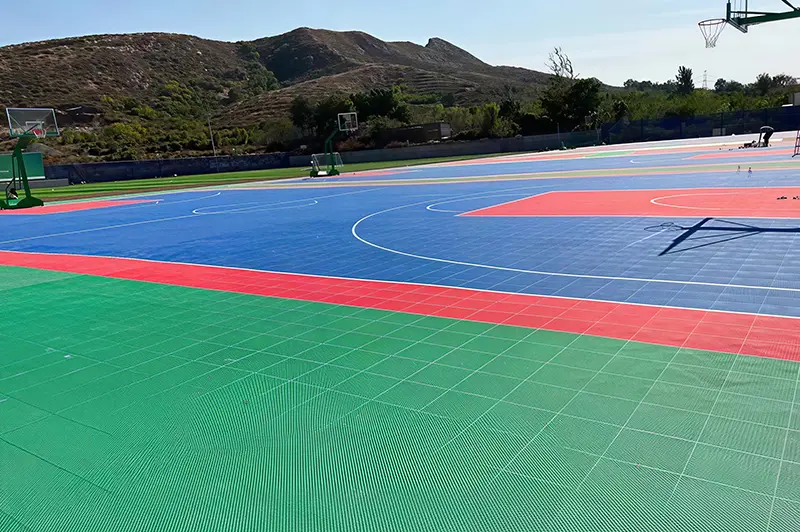
1. What Causes Interlocking Sports Court Tiles to Buckle?
Understanding the root causes of interlocking sports floor tiles buckling helps facility managers, installation contractors, and maintenance teams diagnose whether the issue originates from installation errors, environmental conditions, or subfloor defects.
Improper Installation and Insufficient Expansion Space
All modular sports flooring materials expand and contract with temperature fluctuations. When tiles are installed too tightly against one another, or when no expansion gap is reserved along walls, support columns, and built-in equipment, thermal expansion has no room to dissipate. The resulting compressive force pushes tile edges upward, creating visible buckling along seams and across large floor sections. This is the single most prevalent cause of post-installation buckling in indoor sports facilities.
Temperature Fluctuations and Direct Sunlight
Materials such as polypropylene, PVC, and composite rubber undergo measurable dimensional change as temperatures rise and fall. Direct sunlight through skylights or large windows can create localized hot spots that heat tile surfaces far above ambient room temperature, causing uneven expansion. Outdoor sports facilities face even greater risk, with surface temperatures varying by 40°C or more between daytime heat and nighttime cooling. Repeated thermal cycles gradually shift tile alignment and increase buckling risk over time.
Uneven or Poorly Prepared Subfloors
A flat, stable subfloor is the foundational requirement for a durable interlocking sports floor. Dips, protrusions, cracks, or loose subfloor panels create uneven support under the tile system. When athletes apply dynamic load or heavy equipment is rolled across the surface, unsupported tile sections flex and shift. Over time, this uneven stress causes interlocks to partially disengage and tiles to buckle upward over high spots on the subfloor.
Moisture and Environmental Conditions
Excess moisture damages both the subbase and the flooring itself. For concrete subfloors, rising damp or water seepage can cause surface swelling, efflorescence, or uneven structural movement. Moisture-sensitive tile materials may absorb water and expand irregularly, while water trapped under the floor can degrade interlocking mechanisms and accelerate wear. High ambient humidity also amplifies the effects of temperature-related dimensional change.
Damaged Tiles or Improper Interlocking Connections
Chipped, cracked, or broken interlock tabs cannot hold tiles securely in place. If tiles are forced together during installation, or if seams are misaligned, the connection weakens and allows individual tiles to shift or lift. Partial disengagement of interlocks creates localized stress points that spread to adjacent tiles, eventually leading to visible buckling across wider areas of the floor.
2. How to Prevent PP Interlocking Floor Tiles from Buckling
Proactive buckling prevention delivers significant cost savings compared to reactive repairs, while preserving a safe, high-performance playing surface. Follow these industry-validated steps to protect your modular sports flooring investment.
Prepare a Clean, Level, and Stable Subfloor
- Remove all dust, construction debris, adhesive residue, and loose material from the subfloor before beginning installation.
- Verify subfloor flatness with a 3-meter straightedge, adhering to the manufacturer’s maximum allowable deviation (typically 3 mm over 3 m).
- Repair cracks, fill low spots, grind down protrusions, and resolve moisture issues (such as applying a concrete moisture barrier) before laying any tiles.
- For wood subfloors, confirm panels are securely fastened and free of rot, warping, or water damage.
Leave the Correct Expansion Gap Around the Perimeter
Proper interlocking floor tiles expansion gap placement is one of the most critical steps to prevent thermal buckling.
- Always follow the product-specific installation manual for gap dimensions; there is no universal one-size-fits-all standard for modular sports flooring.
- Maintain consistent expansion space along all fixed structures: perimeter walls, support columns, door frames, bleachers, and built-in sports equipment.
- Never compress tiles to force them into a space; instead, trim edge tiles appropriately while preserving the required perimeter gap.
- For floor areas exceeding 200 m², add intermediate expansion joints as recommended by the flooring manufacturer.
Acclimate the Tiles Before Installation When Required
- Store tiles in the actual installation environment for the manufacturer-specified acclimation period (usually 24–72 hours) prior to laying.
- Avoid installing tiles immediately after delivery in extreme cold or heat, as post-installation dimensional change will build internal stress.
- Different flooring materials have different acclimation requirements; always verify product-specific guidelines before starting work.
Follow the Correct Interlocking Installation Pattern
- Work outward from a single starting corner, following the recommended laying direction and interlock sequence for your specific product.
- Ensure interlock tabs are fully engaged by applying firm, even hand pressure; never strike tiles with a heavy hammer or mallet, as this can fracture connector tabs.
- Periodically check seam alignment and overall floor flatness as installation progresses, correcting misalignments before they spread across multiple rows.
- Avoid pulling or stretching tiles to fit, as this creates residual tension that leads to buckling as the material settles.
Control Indoor Temperature and Moisture
- Minimize prolonged direct sunlight exposure by installing blinds, shades, or UV-blocking window film on south-facing windows and skylights.
- Maintain consistent indoor temperature and relative humidity within the range specified for your flooring system.
- Conduct regular inspections for plumbing leaks, condensation, and water intrusion, especially near restrooms, locker rooms, and exterior walls.
- For outdoor facilities, ensure proper subbase drainage to prevent water from pooling underneath the tile system.
Choose Flooring Designed for Your Sports Facility
- Select a flooring system rated explicitly for indoor or outdoor use matching your application. Outdoor-specific tiles are formulated for UV stability and wider temperature tolerance.
- Evaluate material dimensional stability, load capacity, shock absorption, and maintenance requirements against your facility’s usage intensity and sport types.
- For large arenas and multi-purpose halls, plan for thermal movement in advance, including expansion joints around fixed structures and zoning for high-temperature exposure areas.
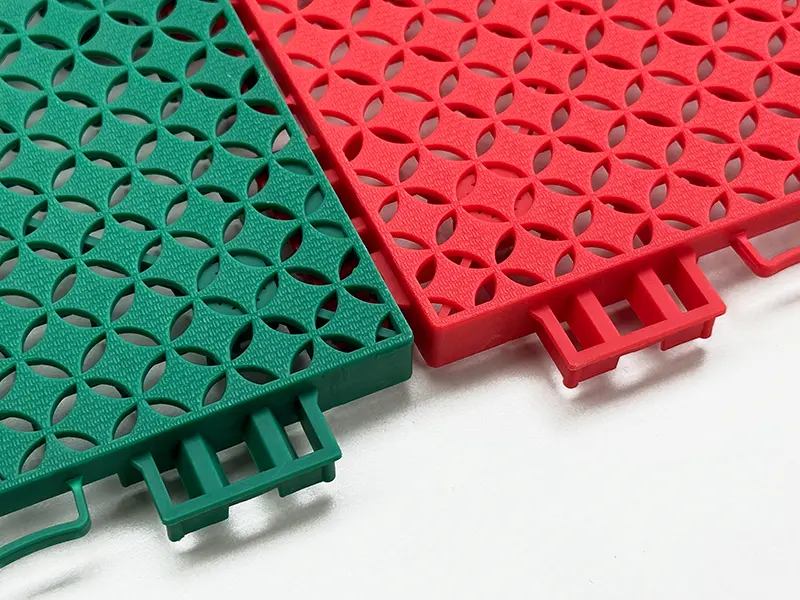
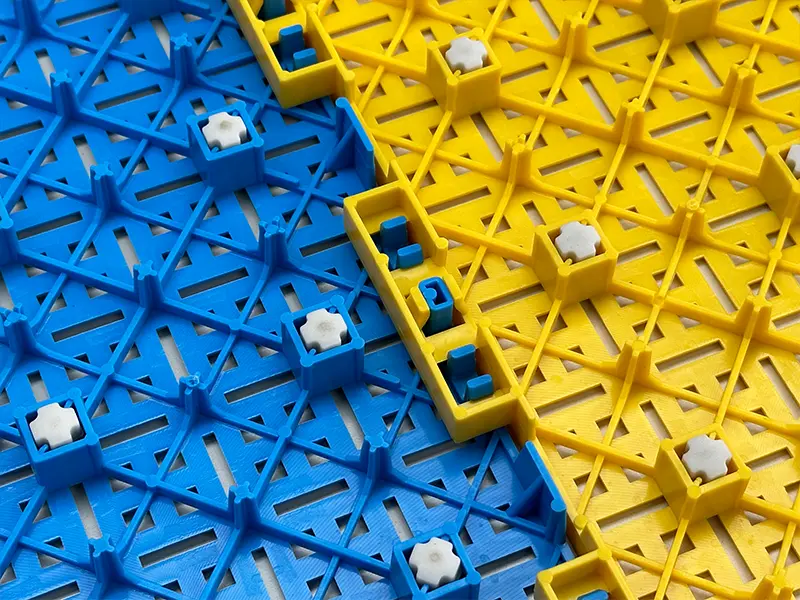
3. How to Fix Buckling Modular Sports Flooring Tiles
When buckling does occur, prompt and proper repair restores playing safety and prevents further damage to the floor system. Always reference the manufacturer’s official repair guidelines before beginning work. Never cut tiles, forcibly flatten them, or apply adhesive without explicit product approval, as these actions can cause permanent damage and void warranties.
Identify the Source of the Buckling
First, diagnose the root cause of the buckling. Check if the lifted area is adjacent to a wall or fixed structure (indicating insufficient expansion gap), if it aligns with a known sunlight hot spot, or if the subfloor underneath is uneven or damp. Determine whether the issue is localized to a few tiles or widespread across the floor. Widespread buckling typically points to a systemic installation or environmental issue, not just a single defective tile.
Remove and Reinstall Affected Tiles if Appropriate
For localized buckling with no damaged components, carefully disassemble the affected tiles starting from the nearest free edge. Inspect each interlock tab for cracks or wear, and clear any debris from the subfloor underneath. If the issue was tight fitting or inadequate expansion space, adjust the layout to restore proper gap clearance, then reinstall the tiles following the correct interlocking procedure. Verify the floor lies completely flat and all seams are fully engaged.
Replace Damaged Tiles and Connectors
If interlock tabs are cracked, chipped, or permanently deformed, replace the affected tiles entirely. Continuing to use damaged interlocking sports floor tiles creates an ongoing tripping hazard and increases mechanical stress on adjacent tiles. Keep a small inventory of matching spare tiles and connectors on hand for quick repairs. Always replace tiles with the exact same product model to ensure proper fit, performance, and visual consistency.
Know When to Call a Flooring Professional
Contact a certified modular sports flooring installer if buckling covers a large area, recurs repeatedly after repair, involves subfloor structural damage, or affects areas around heavy fixed equipment. Professional installers can identify hidden issues such as subfloor moisture or inadequate expansion joints, and can perform full floor re-laying if needed. Do not attempt large-scale repairs without proper training, as improper disassembly can cause widespread tile damage.
4. Common Installation Mistakes That Lead to Buckling
Most cases of interlocking sports floor tiles buckling are entirely preventable and result from avoidable sports flooring installation mistakes. Avoid these common errors to reduce post-installation issues, warranty claims, and maintenance costs.
- Installing tiles on an uneven or contaminated subfloor → Dirt, bumps, and loose debris create uneven support and cause tiles to shift under dynamic load. Always fully prepare and inspect the subfloor before installation, and correct flatness and moisture issues first.
- Leaving insufficient expansion space → Skipping or narrowing the perimeter gap is the top cause of thermal buckling. Always measure and maintain the exact expansion gap specified in the product manual, including around every fixed obstacle in the space.
- Ignoring product-specific installation instructions → Generic installation advice does not apply to all modular sports flooring systems. Always follow the manufacturer’s official guide for acclimation, gap size, laying pattern, and load limits.
- Installing tiles in unsuitable temperature conditions → Laying tiles in extreme cold or heat causes post-installation dimensional change that builds internal stress. Acclimate tiles first and only install within the recommended ambient temperature range.
- Forcing damaged interlocking joints together → Hammering misaligned or damaged tabs creates weak points that fail over time. Replace damaged tiles instead of forcing connections, and engage interlocks with firm, even hand pressure.
- Failing to inspect the floor after installation → Small misalignments and loose seams go unnoticed without a final walkthrough. Perform a full flatness and seam inspection immediately after installation and before the facility opens for use.
5. How to Maintain Interlocking Sports Flooring Over Time
Preventing buckling does not end when installation is complete. Consistent modular sports flooring maintenance extends service life, preserves playing safety, and catches minor issues before they escalate into costly repairs.
Conduct Routine Visual Inspections
Walk the entire floor surface on a scheduled basis to check for raised seams, loose tiles, surface cracks, and localized height differences. Pay extra attention to high-traffic zones, areas near windows, and perimeter edges next to walls and columns. Early detection of slight lifting allows for correction before full buckling develops.
Clean the Floor Using Approved Methods
Follow the manufacturer’s recommended cleaning protocols. Use only pH-neutral cleaners approved for your specific flooring material, and avoid excessive water that can seep under tiles and damage the subfloor or interlocking mechanisms. Remove heavy dirt and grit regularly, as abrasive particles can wear down interlock tabs and accelerate connection failure over time.
Address Small Problems Before They Spread
If you notice a loose interlock, minor tile shift, or small area of repeated lifting, investigate and resolve the root cause promptly. Re-seat loose tiles, clear debris from under the floor, or adjust perimeter gaps as needed. Ignoring minor issues allows mechanical stress to build across the floor, leading to larger buckling events and more extensive tile damage.
6. Frequently Asked Questions
Why Are My Interlocking Floor Tiles Buckling?
The most common causes of sports floor tile buckling are insufficient perimeter expansion space, extreme temperature fluctuations or direct sunlight, uneven or poorly prepared subfloors, damaged interlocking connectors, and installation of non-acclimated tiles. Localized buckling near walls almost always points to inadequate expansion gap clearance.
Do Sports Floor Tiles Need an Expansion Gap?
Yes, nearly all interlocking sports floor tiles require an expansion gap along walls, columns, and fixed structures to accommodate thermal expansion and contraction. Exact gap dimensions vary by product, material, and total floor size, so always refer to the manufacturer’s official installation specifications for your specific system.
Can Heat Cause PP Flooring Tiles to Buckle?
Absolutely. Heat causes modular sports flooring materials to expand. When that expansion is constrained by walls, fixed equipment, or tightly fitted installation, compressive force lifts tile edges and causes buckling. Localized heat from direct sunlight is especially problematic, as it creates uneven expansion across the floor surface.
Can Buckled Sports Floor Tiles Be Repaired?
Yes, most minor to moderate buckling can be repaired successfully. First identify the underlying cause, then carefully remove affected tiles, inspect for damaged interlocks, correct the root issue (such as adding expansion space), and reinstall. Severely damaged tiles or connectors should be replaced entirely.
How Can I Prevent Outdoor Sports Floor Tiles from Buckling?
For outdoor facilities, use only UV-stabilized, outdoor-rated interlocking sports tiles designed for wide temperature swings. Ensure proper subbase drainage to prevent water buildup under the floor, leave adequate expansion space, and minimize prolonged exposure to extreme midday heat where possible.
How Often Should Interlocking Sports Flooring Be Inspected?
Inspection frequency depends on facility usage intensity, environmental conditions, and manufacturer maintenance recommendations. For high-traffic commercial gyms and competitive arenas, monthly inspections are recommended. For school and community sports facilities, quarterly inspections are usually sufficient. Always inspect after extreme temperature events or known water exposure.
Final Thoughts
Mastering how to prevent interlocking sports floor tiles from buckling is a core responsibility for sports venue operators, school facility managers, installation contractors, and procurement teams. By prioritizing proper subfloor preparation, following manufacturer installation guidelines, maintaining controlled environmental conditions, and implementing a routine maintenance plan, you can minimize buckling risk, maximize athlete safety, and get the longest possible service life from your modular sports flooring system.